Keyboard is an important part of computer. We write our thoughts on the Internet by keyboard. And we can have a dialogue with netizens from all over the world. The keyboard seems to be the window of our network. But many people do not love it. And we have gone through many years of precious years of the keyboard.
Often a few keys are not sensitive when we are using laptop. And the keyboard is dirty or can not press the keyboard. Maybe you want to clean the dust or repair keyboard. Although, you don't know how to remove the laptop keyboard. So today, let's take a look at the disassembly steps of laptop keyboard!
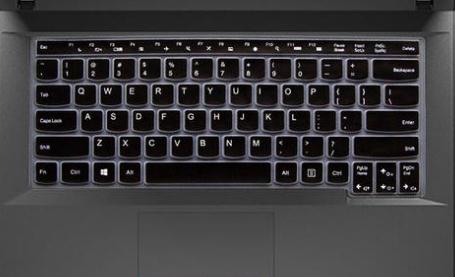
Laptop keyboard
2. Before removing the laptop keyboard, be sure to know it. Different structure of laptop keyboard disassembly method and disassembly difficulty is very different. Therefore, different types have different disassembly methods. Remember to be careful.
Generally, there are three main packaging types of laptop keyboard. One is embedded fixed keyboard. Another is the fixed type keyboard. There is also a screw fixed keyboard. For three different types of laptop keyboard, the disassembly method is as follows.
Disassembly of screw fixed keyboard
Laptop with screw fixed keyboards mainly appear in European and American. Such as ThinkPad and HP. First of all, we start from the most difficult place. Turn the laptop over first. And then remove the four screws with the keyboard mark on the back. You need to pay attention to unscrewing the four screws printed with the keyboard logo.
After unscrewing the screw, tilt up the lower part of the keyboard. You should be careful not to use too much force. Then the lower part of the whole keyboard will be separated from the body. Just pull out the keyboard downward. But you should pay attention to the data line connected below. Turn up keyboard and you'll see memory slot, motherboard, and CPU heat sink.
Disassembly method of embedded keyboard
This fixed way of keyboard is more common in Dell and Japanese laptop. When disassembling, first remove pressing strip above keyboard to see fixed screw. There are usually fixed screws on the back of the machine. And then we can directly screw out the screws to fix the keyboard.
Disassembly of snap on keyboard
First, screw out the back-set screw. Pay special attention to the position of the buckle. Pry the buckle open with a hard object. Then take care not to use excessive force. Finally, take off the keyboard and you can clean it directly. This is relatively simple.